

Views: 0 Author: Site Editor Publish Time: 2026-08-28 Origin: Site


Automotive finishes face constant physical assault from UV degradation and environmental fallout. Oxidation is not merely a cosmetic stain on the surface. It represents a structural failure of the paint system. When clear coat resins break down, the surface becomes porous and diffuses light, creating that familiar dull, chalky appearance. The core problem detailers face is misdiagnosing the severity of this degradation. Using an overly aggressive product risks compromising clear coat integrity, leading to irreversible strike-through. Conversely, deploying an under-powered product wastes valuable labor hours and fails to correct the underlying defect. This technical evaluation guide provides a framework for determining exactly when a polishing compound for oxidation is the correct intervention. We will outline how to differentiate between scenarios requiring gentle refinement and those demanding heavy-cut rubbing compounds or wet sanding.
Severity Dictates the Solution: Polishing compounds effectively resolve light to moderate oxidation; severe, chalky degradation requires heavy-cut abrasives or mechanical sanding first.
Abrasive Technology Matters: Diminishing abrasives (DAT) and super micro-abrasives (SMAT) dictate the cutting power and finish clarity of the compound.
System Synergy is Critical: The effectiveness of car paint oxidation removal relies heavily on the combination of the compound, the pad material (wool, microfiber, foam), and the machine action (rotary vs. dual-action).
Supplier Reliability: Sourcing from a verified polishing compound supplier ensures consistency in abrasive load, lubrication, and solvent carriers, directly impacting the final result.
Automotive paint systems rely on urethane resin binders to maintain structural integrity and optical clarity. Factory clear coats typically measure between 1.5 and 2.0 mils (38 to 50 microns) in thickness. Over time, continuous exposure to ultraviolet radiation, atmospheric oxygen, and extreme panel temperatures breaks down these chemical bonds. The UV inhibitors embedded within the clear coat have a finite half-life. Once they deplete, the polymer chains fracture. This degradation transforms a smooth, reflective surface into a microscopic landscape of jagged peaks and deep valleys. Light hitting this uneven topography scatters rather than reflects, resulting in a hazy, dull appearance. The oxidation process physically consumes the uppermost layer of the clear coat, leaving behind dead, porous paint that absorbs environmental contaminants and accelerates further decay.
Accurate diagnosis prevents catastrophic paint damage during the correction process. Paint degradation falls into distinct categories requiring entirely different mechanical approaches. Detailers must evaluate the surface visually and tactilely before selecting a liquid abrasive.
Oxidation Diagnostic Criteria
Severity Level | Visual Indicators | Tactile Feel | Recommended Intervention |
|---|---|---|---|
Light Oxidation | Slight dullness or hazing; water beads poorly but paint retains some reflectivity. | Smooth but slightly dry. | Standard polishing compound with a medium foam pad. |
Moderate Oxidation | Noticeable chalkiness; reflections are highly distorted or entirely absent. | Dry, slightly rough, grabs microfiber towels. | Heavy cut compound followed by a finishing polish. |
Severe Oxidation | Completely flat, white, or chalky surface with zero gloss. | Highly abrasive texture, feels like fine sandpaper. | Wet sanding or aggressive wool pad compounding, followed by refinement. |
Clear Coat Failure | Delamination, flaking, or distinct white patches with hard edges. | Uneven transitions where clear coat has peeled away. | Mechanical stripping and complete panel repainting. |
Successful oxidation removal means leveling the microscopic surface to restore optical clarity without compromising the protective layer. Industry standards dictate that correction should not remove more than 10-15% of the total clear coat thickness. Exceeding this threshold exposes the base color coat to rapid UV failure. Detailers must utilize an electronic paint thickness gauge (PTG) to measure the panel before, during, and after the process. Removing 0.1 to 0.2 mils of clear coat is generally acceptable for moderate oxidation. If the gauge indicates the clear coat is already dangerously thin, aggressive leveling must be abandoned in favor of chemical decontamination and heavy glaze application.
Polishing compounds operate through controlled mechanical abrasion. They utilize fine aluminum oxide or similar abrasive particles suspended in a complex matrix of lubricating oils and solvent carriers. The machine pad forces these abrasives against the paint, gently shearing off the microscopic peaks of dead clear coat. The lubrication prevents excessive heat buildup and allows the abrasives to glide evenly across the panel. Solvents within the formulation help break down surface contamination and keep the abrasive particles suspended evenly throughout the liquid, preventing clumping that could cause deep scratches.
Understanding the technical distinction between these two liquids dictates your workflow. Rubbing compounds utilize coarse, blocky abrasives designed to physically cut through heavy clear coat damage, deep scratches, and severe oxidation. They typically represent a P1200 to P1500 grit equivalent. Because of their aggressive nature, they leave behind micro-marring or compounding haze. Polishing compounds feature much finer, rounded abrasives, representing a P2500 to P3000 grit equivalent. They are engineered to refine the finish, remove the haze left by rubbing compounds, and restore maximum gloss.
Polishing compounds absolutely work for removing light oxidation independently. When paired with a medium-cut reticulated foam pad, they provide enough leveling power to strip away minor surface hazing and restore clarity. However, for moderate to heavy degradation, a standard polish lacks the abrasive bite necessary to level the deep microscopic valleys. In these cases, polishing compounds serve primarily as the mandatory secondary refinement step after a rubbing compound does the heavy lifting.
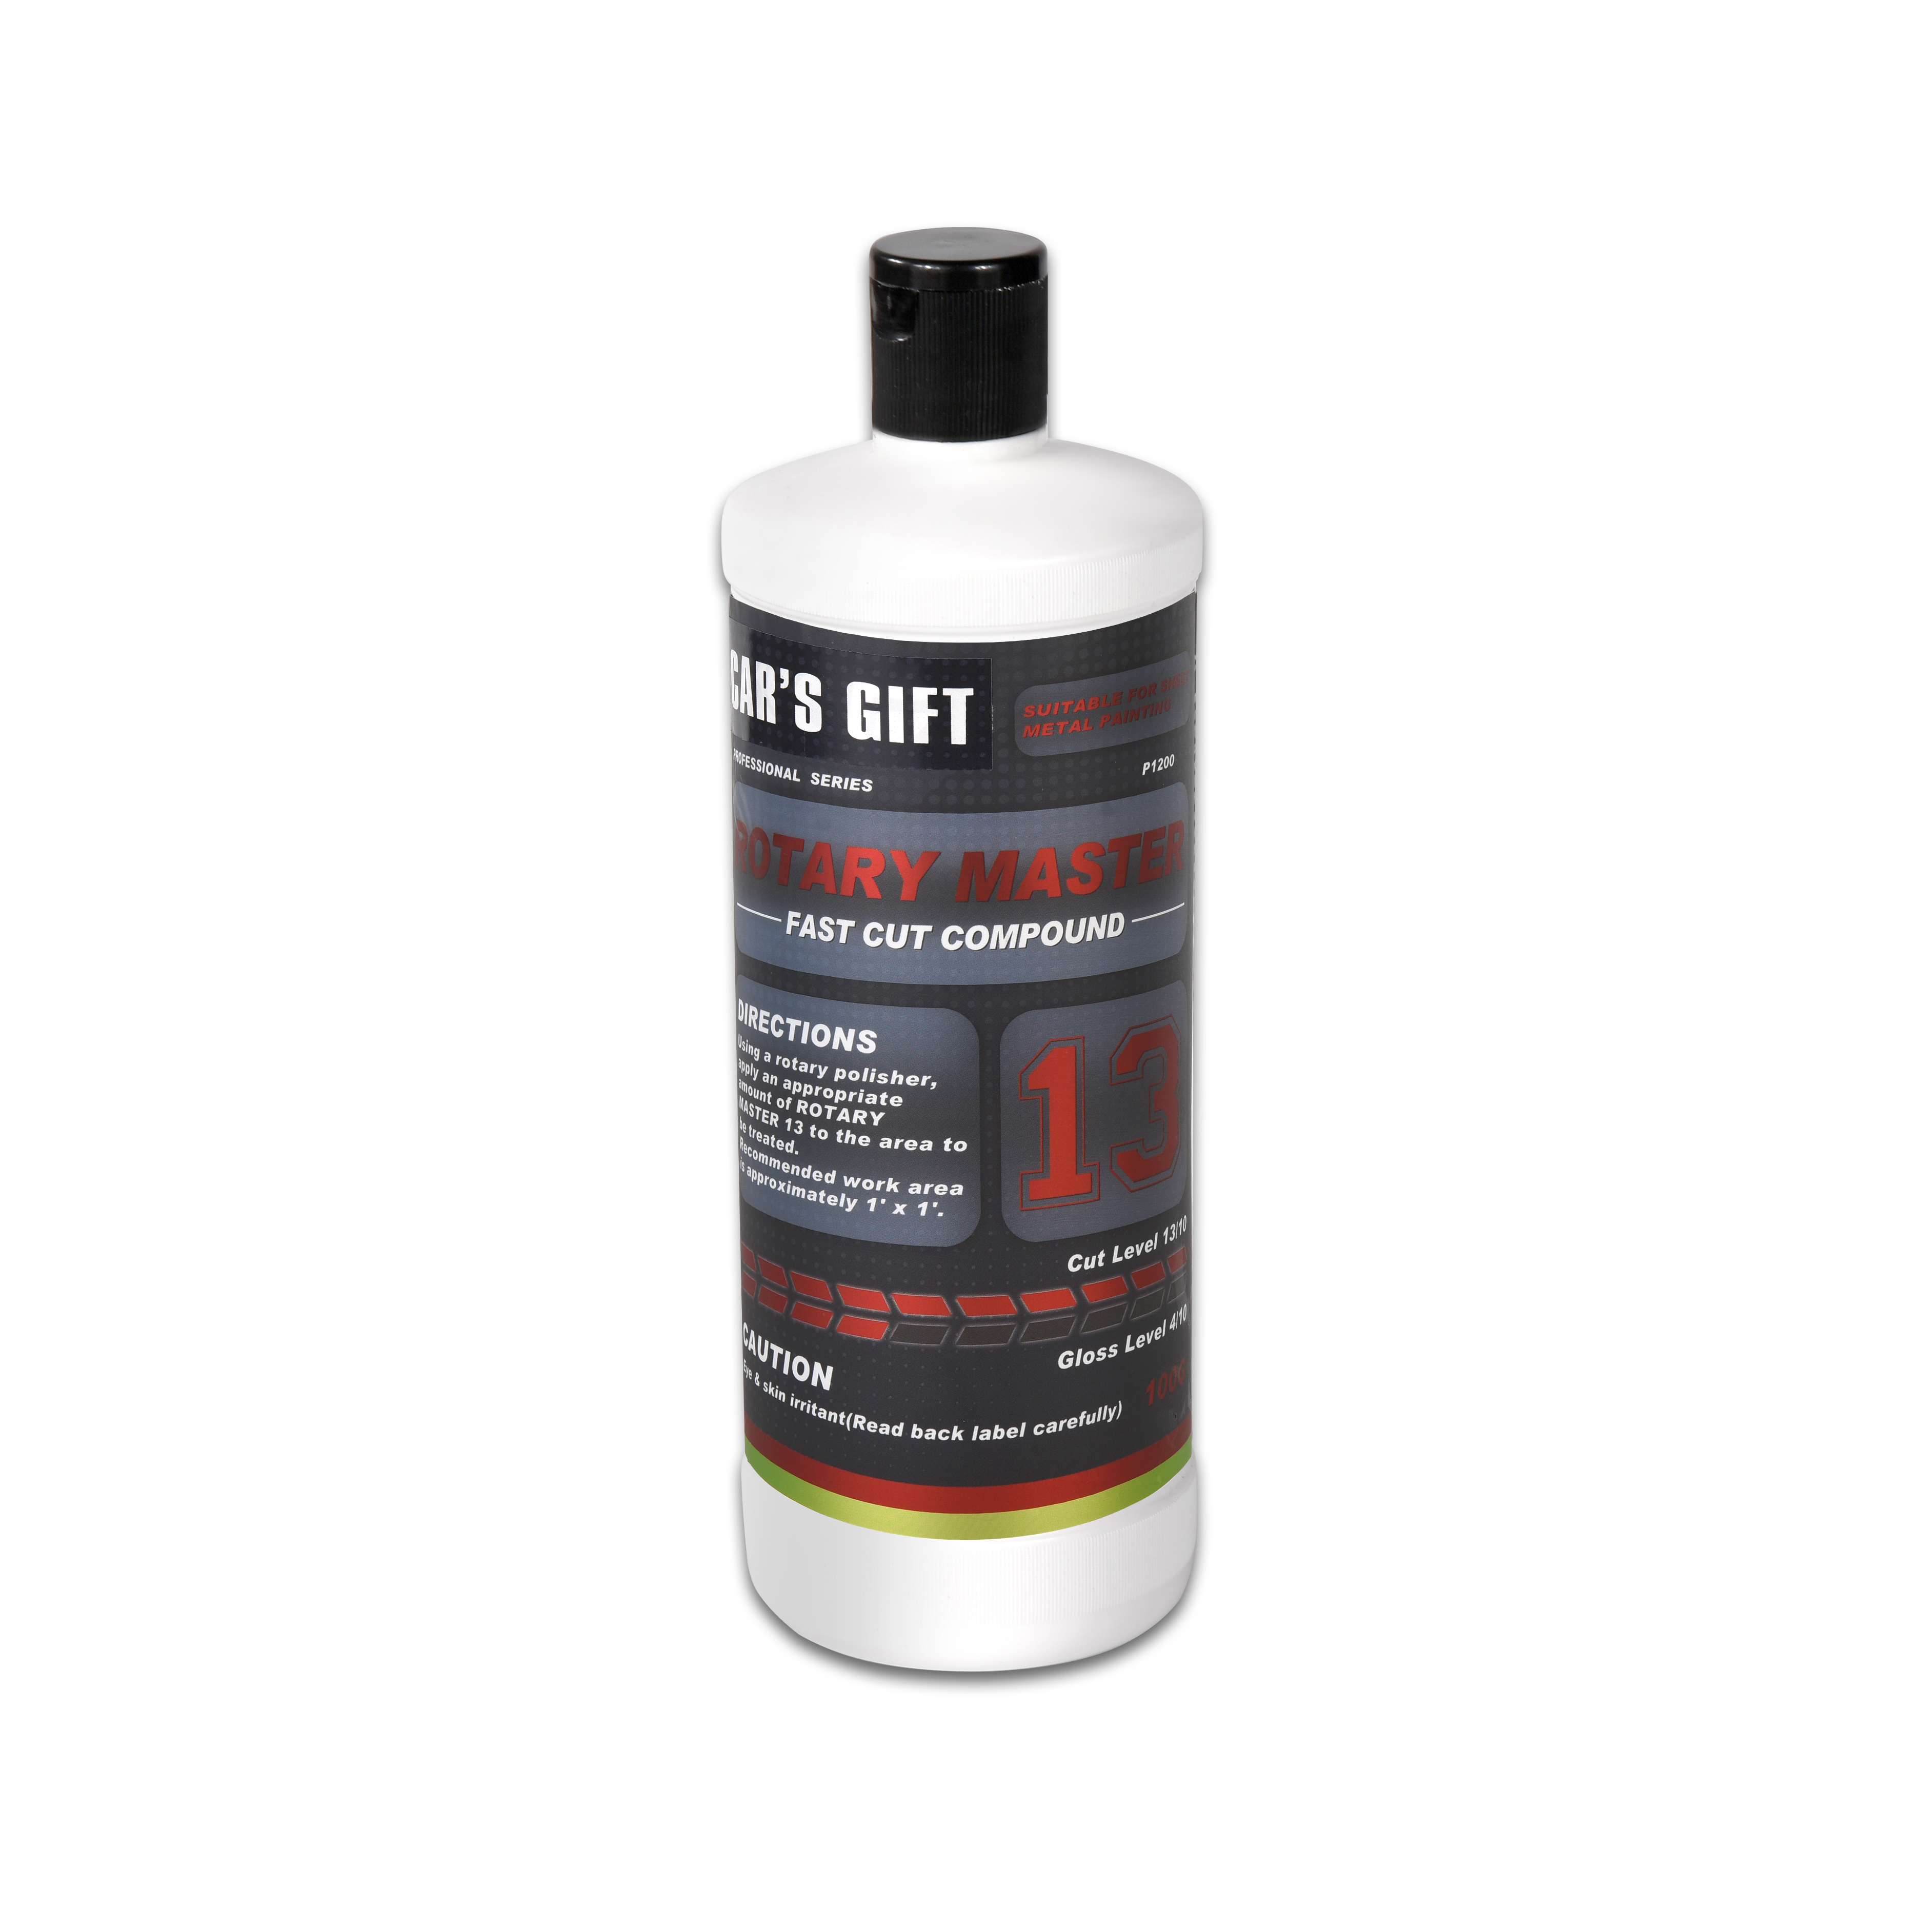
When facing severe chalkiness or deep surface defects, a heavy cut polishing compound provides the necessary mechanical force. These formulations contain a high abrasive load designed for rapid defect removal. Detailers use them to level moderate to heavy oxidation, erase deep swirl marks, and remove 1200-2000 grit sanding scratches. The aggressive nature of the cut means this step will almost always leave a slight haze that requires subsequent refinement. They perform best when paired with twisted wool pads or microfiber cutting discs on a long-throw dual-action polisher.
Production detailing environments often prioritize efficiency over absolute perfection. A one step polishing compound blends medium-cut abrasives with protective sealants, montan wax, or synthetic polymers. This allows the operator to remove light oxidation, refine the gloss, and lay down a layer of protection in a single machine pass. You sacrifice absolute defect correction and maximum durability for significant labor efficiency. These formulations are ideal for fleet maintenance, high-volume dealership work, and daily drivers that do not require a flawless show-car finish.
The final step in any comprehensive correction process requires a finishing polishing compound. These liquids utilize ultra-fine abrasives designed specifically to remove the micro-marring, pigtails, and holograms left behind by heavy cut stages. They do not possess the cutting power to remove actual oxidation. Instead, they maximize gloss and optical clarity, preparing the perfectly leveled surface for a ceramic coating or final wax application. They should always be paired with a soft, non-reticulated finishing foam pad.
The mechanical approach differs based on the defect. Using a polishing compound for scratches requires localized leveling. You concentrate machine action on a specific trench in the clear coat, aiming to round off the sharp edges of the scratch so it no longer catches light. This often involves edge work with a 3-inch machine. Oxidation removal requires uniform, broad-surface leveling. You must maintain consistent pressure, arm speed, and abrasive breakdown across entire body panels using a 5-inch or 6-inch pad to ensure an even, uniform restoration of gloss.
Antique single-stage paints lack a protective clear coat layer, making the color pigment highly susceptible to oxidation. When correcting single-stage paint, avoid compounds using heavy solvent carrying agents. These solvents can dry out the already brittle, old paint. Instead, utilize compounds rich in polishing oils. These oils rehydrate the porous surface, swelling the paint matrix and restoring color depth safely. You will notice the pad turning the color of the vehicle as dead pigment is removed. Modern clear coats present a different challenge. They are harder, much thinner, and require precise abrasive technology to level the surface without breaching the protective layer. Modern clear coat correction produces a fine white residue on the pad.
The liquid compound provides the abrasive, but the pad dictates how that abrasive interacts with the paint. Selecting the correct pad is just as critical as choosing the right compound. Open-cell foam allows compound to migrate into the pad, extending work time, while closed-cell foam keeps the abrasive on the surface for faster cutting.
Pad and Compound Synergy Guide
Pad Material | Cell Structure | Cutting Power | Ideal Compound Pairing |
|---|---|---|---|
Twisted Wool | N/A (Fibers) | Maximum Cut | Heavy Cut Compound |
Microfiber Cutting | N/A (Fibers) | High Cut | Heavy Cut / Medium Cut |
Dense Foam Cutting | Open-Cell | Medium-High Cut | Medium Cut / One-Step |
Soft Foam Finishing | Closed-Cell | Zero to Low Cut | Finishing Polish |
Hand application is entirely insufficient for true oxidation removal. The human arm cannot generate the consistent heat, friction, and sheer force required to break down modern abrasives evenly. Hand polishing generates perhaps 100 strokes per minute, resulting in patchy gloss, un-leveled clear coat, and severe operator fatigue. Machine polishers provide the sustained mechanical energy necessary to cycle the abrasives through their intended cutting and finishing phases. A modern dual-action polisher generates 4000 to 5000 oscillations per minute (OPM), ensuring uniform material removal across the entire panel.
Executing proper car paint oxidation removal requires a strict adherence to a phased workflow. Skipping steps guarantees sub-optimal results and increases the risk of permanent paint damage.
Phase 1: Chemical and Mechanical Decontamination. Never polish a contaminated surface. Thoroughly wash the vehicle using a high-pH stripping soap to remove old waxes and surface grease. Apply a pH-neutral chemical iron remover to dissolve embedded brake dust. Finally, use a synthetic clay towel or traditional clay bar with ample lubrication to pull out bonded environmental fallout. Skipping this phase guarantees that you will pick up abrasive particulates in your polishing pad, grinding deep, permanent scratches into the clear coat.
Phase 2: Assessing the Need for Wet Sanding. For extreme oxidation where heavy compounds fail to make an impact, mechanical sanding becomes necessary. Start with P1500 to P2000 grit wet sandpaper. Soak the paper for at least 15 minutes before use. Wrap the paper around a foam sanding block to prevent finger pressure marks, known as tiger stripes. Sand in straight, overlapping lines to manually level the dead, chalky paint. Frequently flush the surface with water to remove the milky residue of sanded clear coat. Stop sanding immediately once the surface appears uniformly dull and smooth.
Phase 3: The Cutting Stage. Apply a rubbing compound or heavy cut polishing compound to a wool or heavy cutting foam pad. Spread the product at a low speed, then increase the machine speed to 4000 OPM to begin the cutting cycle. Move the machine slowly across the panel in a cross-hatch pattern, overlapping each pass by 50%. The goal here is to remove the sanding marks or severe oxidation entirely. Blow out the pad with compressed air after every single section to remove spent clear coat and fractured abrasives.
Phase 4: The Refining Stage. The cutting stage will leave the paint looking slightly hazy. Follow up immediately with a finishing polishing compound on a soft foam pad. This step requires less downward pressure and a slightly faster arm speed, dropping the machine speed to roughly 3000 OPM for the final passes. The ultra-fine abrasives will eliminate the compounding haze, refine the microscopic surface texture, and restore total optical clarity.
Phase 5: Surface Protection. Freshly leveled clear coat is completely unprotected and highly vulnerable. If left exposed, it will re-oxidize rapidly. Wipe the polished panels down with an isopropyl alcohol (IPA) solution to remove residual polishing oils. Immediately apply a ceramic coating, polymer sealant, or high-quality carnauba wax. This sacrificial layer blocks UV rays, repels water, and prevents environmental contaminants from attacking the fresh clear coat.
Strike-through occurs when you physically polish entirely through the clear coat, exposing the dull base color beneath. The primary causes are over-aggressive compounding, excessive machine heat, or lingering too long on sharp body lines and edges. Plastic bumpers dissipate heat much slower than metal panels, increasing the risk of burning the paint. To mitigate this risk, always use an electronic paint thickness gauge before starting. Tape off all hard edges, plastic trim, and panel gaps with automotive masking tape. Always adhere to the principle of least aggressive method first.
Holograms are three-dimensional buffer trails visible in direct sunlight. They are caused by using a heavy cut polishing compound with a rotary buffer without performing a subsequent refinement step. Dirty pads or overworked abrasives also cause micro-marring. Pad stalling on curved panels can also induce localized marring. Mitigate this by blowing out your pads with compressed air after every single panel. Always follow heavy cutting stages with a dedicated finishing polishing compound on a soft, clean foam pad using a dual-action polisher to ensure a hologram-free finish.
Detailers occasionally restore a vehicle perfectly, only for the oxidation to return within weeks. The cause is failing to seal the freshly leveled, unprotected paint. Polishing removes dead paint but does not provide protection. The newly exposed clear coat is highly porous and susceptible to immediate UV damage. Mitigation requires the mandatory application of a durable surface protectant immediately after the final alcohol wipe-down. SiO2 ceramic coatings offer the highest level of UV resistance for newly restored finishes.
The chemical engineering behind polishing liquids directly dictates your labor time and final results. Using cheap, off-the-shelf compounds introduces severe risks. Low-quality products often suffer from inconsistent abrasive sizing. A single oversized abrasive particle in a bottle of polish will inflict deep scratches across the entire vehicle. Furthermore, cheap compounds lack proper lubrication, leading to excessive dusting, rapid pad dry-out, and dangerous heat buildup on the paint surface.
Partnering with a reputable polishing compound supplier provides measurable advantages for commercial detailers and body shops. Professional-grade suppliers ensure strict quality control over abrasive consistency and suspension stability. They formulate products with advanced solvent carriers that provide long working times, zero dusting, and strict VOC compliance. Establishing a relationship with a verified manufacturer also grants access to reliable inventory availability and direct technical support for troubleshooting difficult paint systems.
Execute the following steps to ensure safe and effective paint correction:
Measure the target panel with an electronic paint thickness gauge to confirm you have at least 1.5 mils of clear coat remaining before attempting correction.
Perform a test spot on a 2x2 foot section using a medium-cut pad and polish combination to establish your baseline leveling capability.
Wipe the corrected test section with an isopropyl alcohol prep spray to remove residual oils and inspect the true finish with a high-lumen detailing light.
Apply a dedicated ceramic coating or polymer sealant to the leveled paint immediately to prevent rapid re-oxidation of the porous surface.
A: While possible, hand application fails to remove oxidation effectively. Human arms cannot generate the sustained friction, heat, and sheer force required to break down modern abrasives evenly. You might achieve a temporary gloss enhancement by filling microscopic pores with polishing oils, but true leveling of the oxidized clear coat requires the mechanical action and consistent oscillations of a machine polisher.
A: Rubbing compounds contain coarser, blocky abrasives designed to remove deep scratches and severe oxidation quickly, leaving a heavy haze. Heavy cut polishing compounds utilize more refined, engineered abrasive technology that cuts heavily but leaves a significantly better finish, requiring less secondary refinement to achieve optical clarity.
A: Use P1500 grit wet sandpaper when the oxidation is exceptionally severe, presenting a thick, chalky texture that immediately clogs a wool or foam cutting pad. Sanding physically levels the dead paint much faster and with less heat buildup than forcing a heavy cut compound to do the same amount of leveling.
A: Oxidized clear coat looks dull, hazy, and chalky but remains structurally intact across the panel. Failed clear coat presents as physical peeling, flaking, or distinct white patches with hard edges where the clear layer has separated entirely from the base color. Polishing cannot fix failed clear coat.
A: You do not necessarily need a full wash, but you must remove the polishing oils before applying protection. Wipe the polished panels down with an isopropyl alcohol (IPA) solution or a dedicated panel prep spray. This strips the lubricating oils and ensures your wax or ceramic coating bonds properly to the clear coat.
A: No. One-step compounds blend medium abrasives with sealants. They lack the cutting power required to level severe, chalky oxidation. Attempting to use a one-step on heavy oxidation will merely glaze over the dead paint, providing a temporary shine that will wash away within a few weeks.


