

Views: 0 Author: Site Editor Publish Time: 2026-09-04 Origin: Site


In professional detailing and high-volume reconditioning, time dictates profitability. Spending hours on multi-stage compounding directly erodes margins and creates shop bottlenecks. Technicians constantly battle the trade-off between aggressive defect removal and leaving a haze-free finish. Traditional setups require switching between heavy cutting pads and finishing pads, effectively doubling the labor time required for a single vehicle. Microfiber technology engineers a bridge between heavy cutting and acceptable finishing. By leveraging thousands of microscopic strands, these pads provide a massive surface area that cuts rapidly while refining the clear coat simultaneously. This guide evaluates how to implement microfiber systems to achieve fast, one-step paint correction. We examine the underlying material science, operational risks like heat management, chemical synergy with modern abrasives, and strict procurement criteria to help you streamline your correction process.
Superior Surface Area: Microfiber pads utilize thousands of individual strands to increase abrasive contact, delivering cutting power that rivals wool but finishes closer to foam.
Heat and Matting Risks: The primary operational bottleneck of microfiber is fiber matting and heat retention, requiring strict pad rotation, minimal product usage, and compressed-air cleaning protocols.
One-Step Viability: When paired with diminishing abrasives, specific microfiber configurations can effectively perform one-step corrections on medium-to-hard clear coats.
Supplier Selection: Sourcing from a reputable polishing pad supplier is critical, as the thermal stress of dual-action polishers frequently causes backing delamination in sub-tier products.
Defining "fast" paint correction requires looking at specific shop metrics. Success means reducing the time-per-panel, maximizing the defect removal rate for swirls, heavy oxidation, and moderate scratches, and minimizing the need for secondary refinement stages. A properly utilized microfiber polishing pad achieves these metrics by changing how abrasives interact with the paint surface. We measure efficiency by how quickly a technician can level a defect and move to the next panel without leaving micro-marring behind.
The physics of microfiber fundamentally differ from flat pad materials. Individual microfiber strands act as microscopic fingers. They hold polishing compounds directly at their tips rather than absorbing them deep into a porous structure. This dynamic maximizes the active surface area against the clear coat. When you apply pressure, these fibers adapt to the micro-texture of the paint, dragging the abrasive particles across the defect edges with high efficiency. You get a faster leveling action without needing excessive downward force. The strands physically reach into the valleys of scratches, pulling the abrasive slurry along the ridges to flatten the surface rapidly.
Microfiber is heavily optimized for large-throw Dual Action (DA) polishers. The lateral oscillation of a DA machine keeps the individual fibers engaged and moving in random patterns. This prevents the fibers from laying flat and creating localized hot spots, which is a common risk with rotary polishers. A 15mm throw machine provides an excellent balance of pad rotation and lateral movement, making it highly versatile for curved panels. A 21mm throw machine generates massive kinetic energy, leveling severe defects on large, flat panels like hoods and roofs with unmatched speed. The orbital movement constantly shifts the abrasive load. The fibers cut aggressively on the outward throw and refine the finish on the inward return. This synergy is what makes microfiber highly effective for rapid defect removal without inducing severe holograms.
Matching a microfiber pad for paint correction with the right liquid dictates the final result. There is a strategic difference between pairing microfiber with heavy-cutting compounds versus balanced, diminishing abrasives. If you face deep scratches on a hard clear coat, a heavy compound loaded onto a microfiber pad will level the paint quickly. It may leave a slight haze requiring a quick foam refinement. However, if your goal is one-step clarity, pairing microfiber with a diminishing abrasive allows the fibers to cut hard initially. As the abrasive particles break down into finer polishing agents, the microfiber strands refine the surface, leaving a high-gloss finish in a single pass.
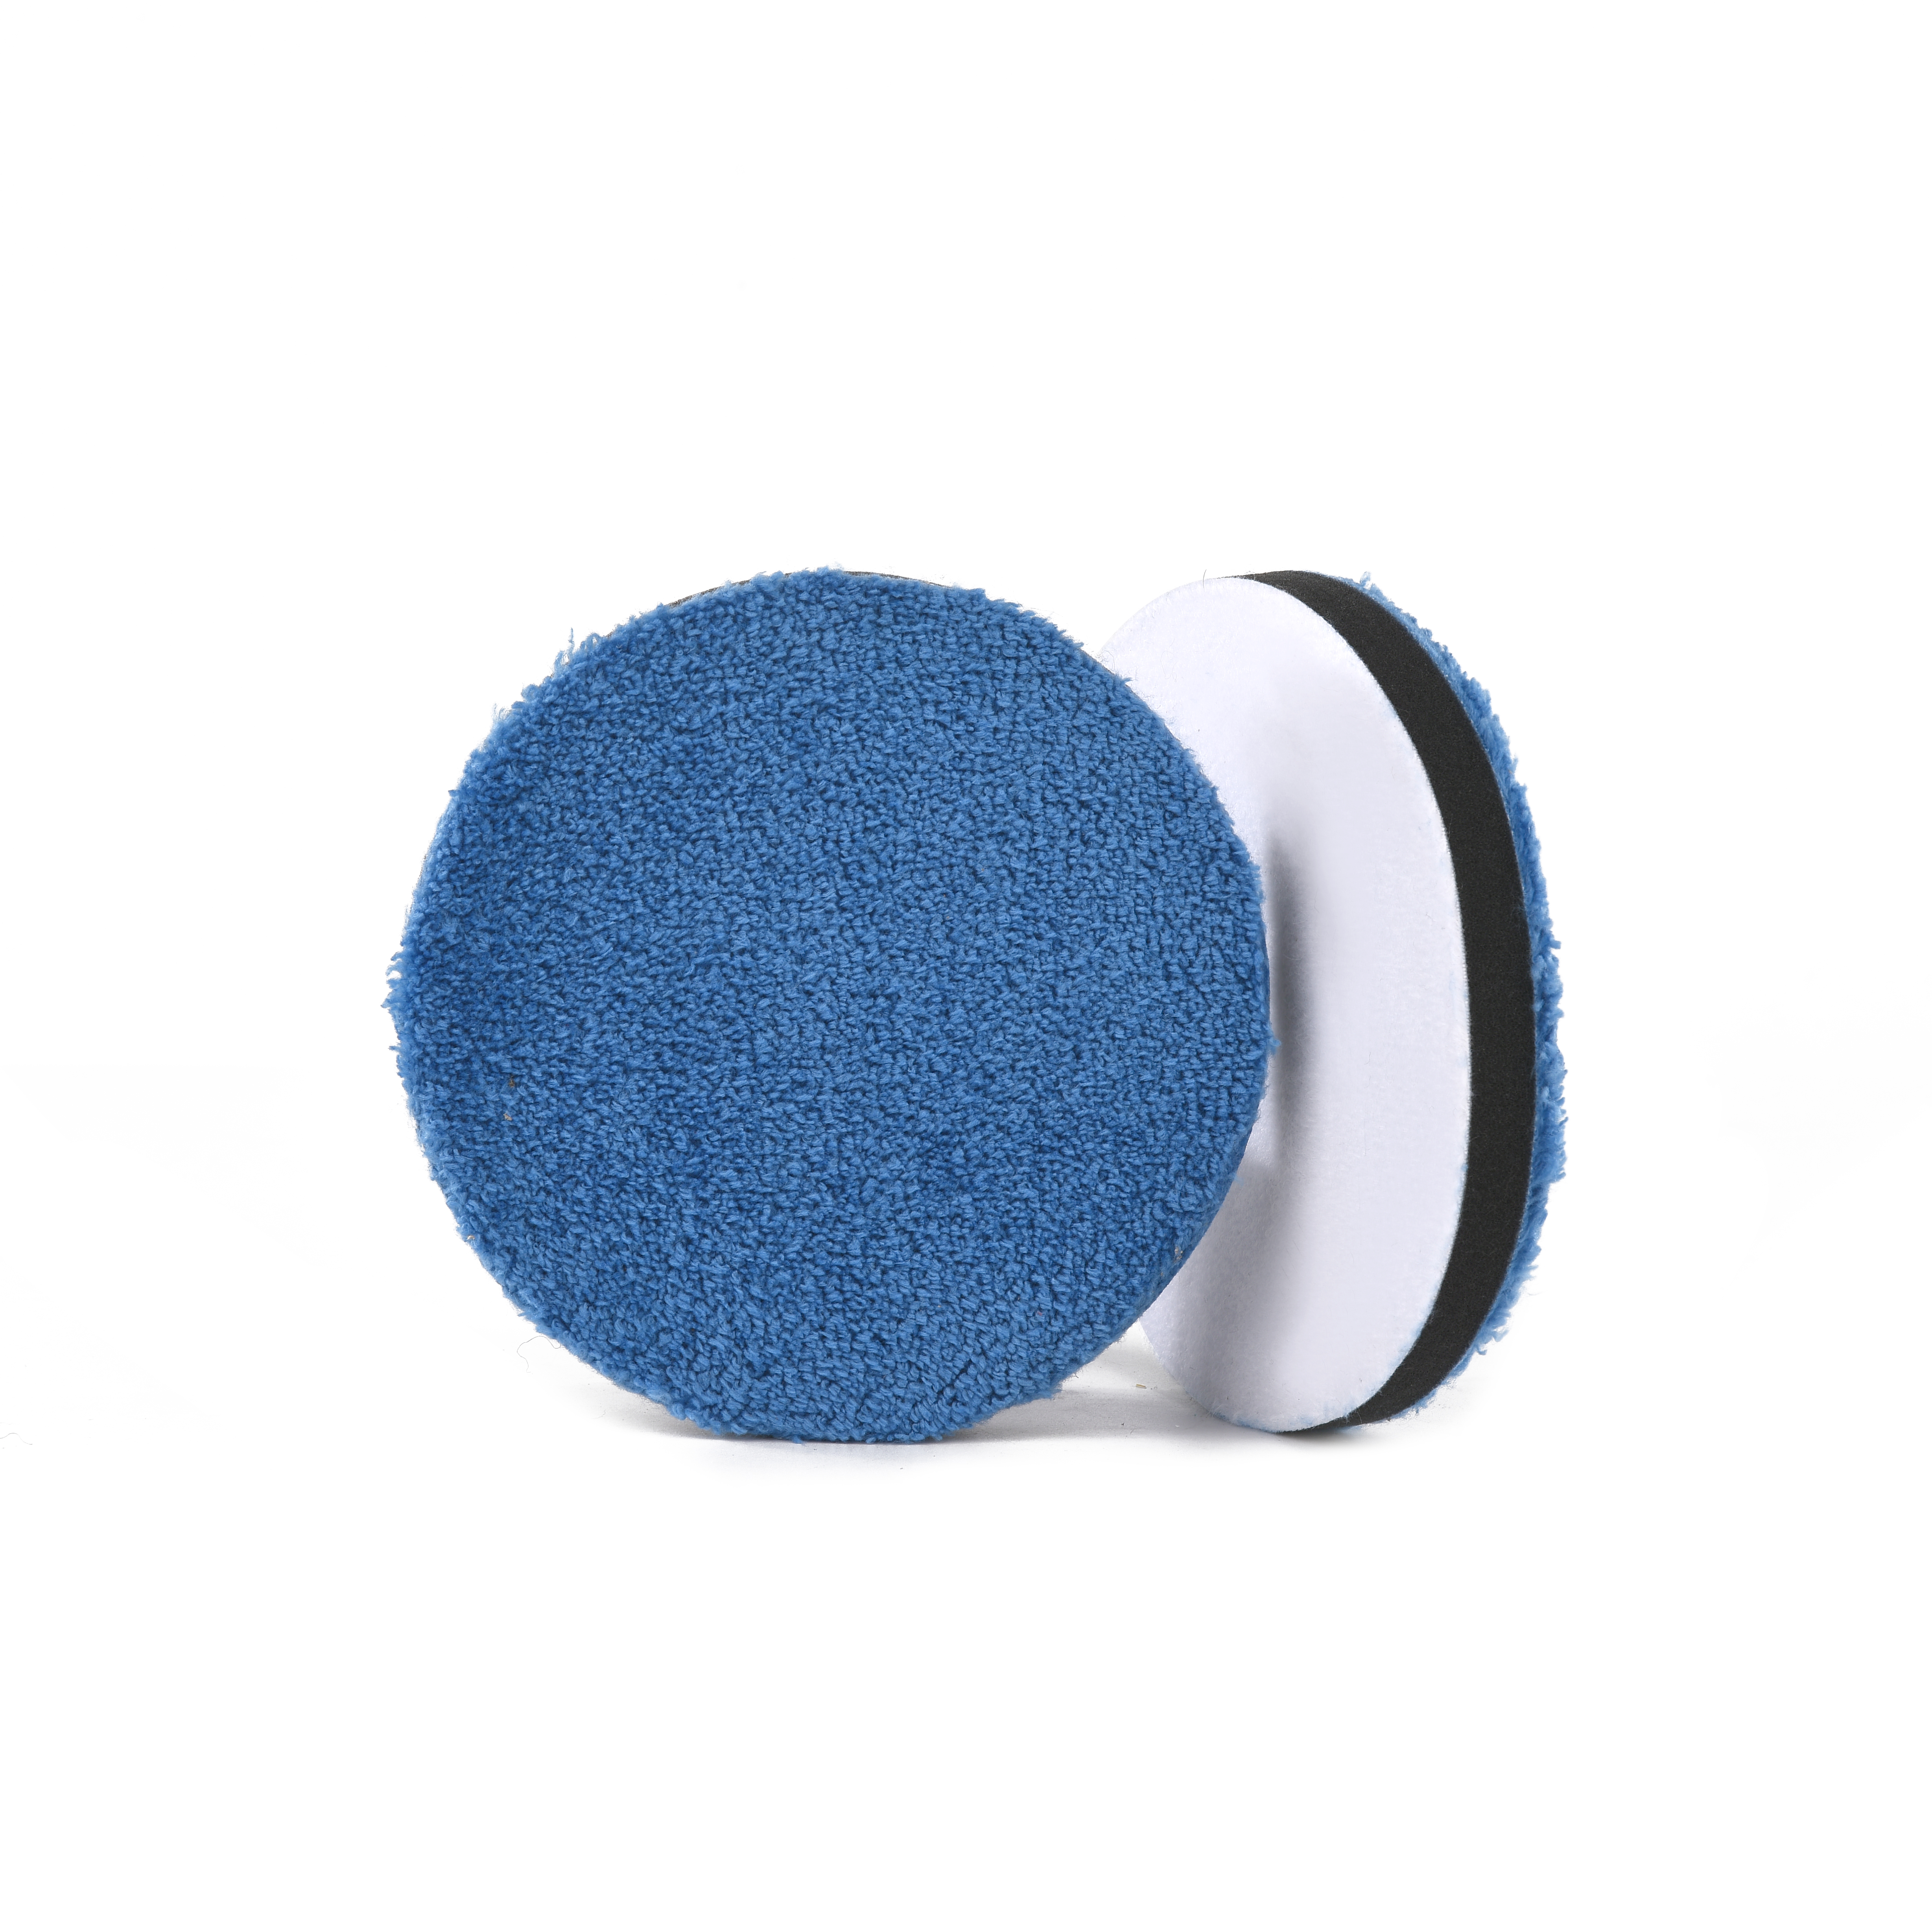
Understanding where microfiber fits into your detailing arsenal requires a direct comparison with traditional materials. Each pad type interacts with clear coat hardness, machine movement, and compound chemistry differently. You must select the right tool based on the specific paint system in front of you.
The performance gap between microfiber and a standard foam polishing pad comes down to mechanical abrasion versus surface tension. Microfiber cuts significantly faster than dense foam. The individual strands provide mechanical bite, whereas foam relies entirely on the abrasive liquid to do the cutting. Foam generally finishes better on soft, finicky paints. Microfiber can leave micro-marring or a slight haze on very soft clear coats if the machine speed and pressure are not managed correctly. Foam dissipates heat through its open-cell structure. Microfiber traps heat directly at the interface layer between the fibers and the paint. This requires closer monitoring of panel temperatures during heavy correction.
Wool has long been the heavyweight champion for defect removal, but microfiber offers a modern alternative tailored for orbital machines. A traditional wool polishing pad remains the standard for extreme rotary cutting on fresh paint or severe oxidation. However, microfiber offers a more controlled, lint-free cut specifically designed for DA machines. Microfiber leaves a tighter, more uniform finish than twisted wool. Wool often leaves heavy compounding swirls that require a dedicated secondary step. Microfiber reduces this workload, often allowing you to skip straight to a light finishing polish.
Blending microfiber with specific foam interfaces creates a hybrid tool. A well-designed fiber polishing pad utilizes a foam backing layer to absorb the aggressive vibrations of a DA polisher. This foam interface allows the pad to contour to body lines while the microfiber face does the heavy lifting. The result is a pad capable of cutting like wool on the initial passes and finishing like a medium foam pad as the compound breaks down.
Technicians accustomed exclusively to foam pads often face a learning curve when switching to microfiber. The most common mistake is applying too much downward pressure. Foam requires pressure to keep the pores engaged with the paint. Microfiber requires a lighter touch. You must let the machine do the work. Excessive pressure flattens the fibers, instantly stopping the cutting action and spiking the surface temperature. Adjusting your arm speed to a slower, more deliberate pace maximizes fiber engagement without inducing micro-marring.
Polishing Pad Material Performance Metrics
Material Type | Primary Cut Level | Finishing Ability | Heat Generation | Best Machine Pairing |
|---|---|---|---|---|
Microfiber | High to Very High | Good (on medium/hard paint) | High (traps heat at surface) | Dual Action (DA) |
Foam (Cutting) | Medium to High | Very Good | Moderate (dissipates well) | Rotary or DA |
Twisted Wool | Extreme | Poor (leaves compounding marks) | Low (runs cool on rotary) | Rotary |
Not all microfiber pads are manufactured equally. Selecting the correct pad requires evaluating the pile length, the interface sponge, and the backing plate compatibility based on the specific clear coat you are working on. You cannot use a one-size-fits-all approach when dealing with varying paint hardness levels across different vehicle manufacturers.
The length of the microfiber strands dictates the pad's primary function. A short pile maximizes cutting power and pad rotation speed. Because the fibers are short, there is less lateral deflection, meaning more energy from the machine transfers directly to the paint. This configuration is best for severe defects, hard clear coats, and heavy compounding. Longer fibers offer better contouring over curved panels and superior finishing capabilities. The plush nature cushions the abrasive action, making it ideal for one-step polishing and softer paints where a short nap might induce haze.
The foam layer sandwiched between the velcro backing and the microfiber face dictates pressure distribution. A thin, dense foam layer directs maximum energy to the paint surface. This provides high cut and is highly effective on flat panels where contouring is not required. A thicker, softer foam layer absorbs machine movement and contours to complex curves. It acts as a shock absorber, which refines the finish and prevents the microfiber from cutting too aggressively on panel edges.
Thermal management is the critical failure point for microfiber systems. Assess the importance of center-cut holes in the pad. These holes align with vented backing plates on modern DA polishers to channel heat away from the center of the pad, preventing the velcro from melting. Exact-fit sizing is mandatory. If the backing plate overhangs the velcro, it will dig into the paint. If the pad is significantly larger than the backing plate, the unsupported edges will fray and lose cutting efficiency rapidly.
Interface Sponge Thickness Applications
Sponge Thickness | Density Profile | Primary Application | Panel Type Suitability |
|---|---|---|---|
Thin (Under 10mm) | Stiff / Firm | Heavy Compounding | Large, Flat Panels (Hoods, Roofs) |
Medium (10mm - 15mm) | Balanced | One-Step Correction | Mixed Contours (Doors, Fenders) |
Thick (Over 15mm) | Soft / Plush | Finishing / Light Polishing | Complex Curves and Bumpers |
Deploying microfiber in a high-volume setting requires strict operational discipline. The material behaves differently than foam, and ignoring its maintenance requirements will lead to poor results and ruined pads. You must train your staff to recognize when a pad is saturated and when it needs to be swapped out.
Thoroughly priming the pad before the first pass is non-negotiable. You must massage the compound into the fibers across the entire face of the pad to ensure uniform abrasive distribution. The critical rule for subsequent passes is using as little polish as possible. Adding too much liquid saturates the fibers, causing them to clump together. A saturated pad hydroplanes over the paint instead of cutting it.
You must understand the exact mechanism of why a microfiber pad stops cutting. As you polish, the pad accumulates spent clear coat, dried compound, and heat. This mixture clogs the microscopic pores of the fibers. The heat and moisture cause the fibers to flatten and mat down. Once matted, the pad loses its mechanical bite. Continuing to polish with a matted pad only generates dangerous levels of heat without removing defects.
Paint systems vary wildly between manufacturers. A hard urethane clear coat on a German luxury sedan reacts entirely differently to microfiber than a soft, sticky acrylic clear coat on a Japanese import. When working on hard paint, the microfiber strands can withstand higher machine speeds and firmer pressure, allowing the abrasives to fracture and level the surface efficiently. On soft paint, the aggressive bite of the fibers can induce micro-marring, often referred to as DA haze. You must adjust your technique accordingly. Lower your machine speed, reduce downward pressure to zero, and rely entirely on the pad's rotation to do the work. If the paint remains sticky, switching to a specialized pad primer can provide the necessary lubrication to prevent the fibers from grabbing the clear coat.
Address the operational reality of pad inventory. Dispel the myth of needing dozens of pads for a single car, but establish a strict baseline. You require 4 to 6 pads per vehicle for heavy correction. This rotation allows used pads to cool down completely. Constant use of a single pad elevates the core temperature until the adhesive bonding the velcro to the foam fails, destroying the pad.
To keep the fibers standing up and cutting efficiently, you must clean the pad frequently. Follow these exact steps for in-cycle cleaning:
Stop the machine after completing a 2x2 foot section pass.
Hold a compressed air blow-out gun one inch from the pad face.
Pulse the air trigger while manually spinning the backing plate to eject spent compound.
If air is unavailable, run the machine at speed setting 2 and press a stiff nylon conditioning brush against the fibers.
Apply a single mist of pad primer to reactivate dried solids before adding one small drop of fresh compound.
Troubleshooting Common Microfiber Polishing Defects
Observed Defect | Root Cause | Corrective Action |
|---|---|---|
Severe DA Haze / Micro-marring | Excessive downward pressure or dirty pad | Lighten pressure, blow out pad with compressed air |
Pad Hydroplaning (No Cut) | Fibers saturated with too much compound | Swap to a clean, dry pad; reduce product usage |
Excessive Panel Heat | Working too small of an area or matted fibers | Expand work area to 2x2 feet, clean fibers to restore airflow |
Velcro Backing Peeling | Thermal failure from lack of pad rotation | Implement a strict 4-6 pad rotation per vehicle |
When outfitting a detailing shop, the quality of your consumables directly impacts your bottom line. Cheap pads fail quickly, causing downtime and frustration. You need a reliable supply chain that delivers consistent manufacturing tolerances.
Identify the failure points of budget options. The extreme heat generated by DA polishers, combined with the high friction of microfiber, puts immense stress on the pad's construction. Sub-tier products suffer from hook-and-loop delamination, where the velcro literally peels away from the foam interface. Investing in high-quality professional polishing pads ensures the use of heat-resistant adhesives and durable foam structures designed to withstand daily commercial abuse.
Calculate the true return on investment rather than looking solely at the purchase price. A premium pad might cost slightly more upfront, but if it survives 20 or more heavy correction jobs, the cost-per-car drops to pennies. A budget pad that delaminates or loses its structural integrity after three vehicles is a massive drain on resources.
There is a massive operational benefit to committing to a single system. Sourcing your inventory from a reliable polishing pad supplier ensures predictable cut-and-finish results across your entire team of technicians. When every technician uses the same pad and compound combination, troubleshooting issues becomes simple, and vehicle turnaround times become highly predictable. You eliminate the guesswork associated with mixing incompatible foams, fibers, and liquids.
Audit your current correction times to identify specific bottlenecks in your compounding and finishing stages.
Procure a sample pack of short-nap and plush microfiber pads to test compatibility with your primary abrasive liquids.
Install dedicated compressed-air drops at every polishing workstation to enforce mandatory pad blow-out procedures.
Train your technicians to reduce downward machine pressure, allowing the lateral oscillation to keep the fibers engaged.
A: Yes, you can use a plush, long-nap microfiber pad paired with a soft foam interface and a fine finishing polish. It finishes exceptionally well on medium to hard clear coats. However, extremely soft paints usually require a soft foam pad to ensure a completely haze-free, flawless finish.
A: For a standard-sized vehicle, you must rotate between 4 to 6 pads. This rotation prevents any single pad from overheating, which causes the backing adhesive to fail. Rotating pads ensures they remain cool, clean, and capable of cutting efficiently throughout the entire job.
A: Microfiber traps heat directly at the interface layer between the fibers and the clear coat due to high mechanical friction. Unlike foam, which features an open-cell structure allowing air to circulate and dissipate heat, microfiber strands insulate the surface. This requires careful monitoring of panel temperatures.
A: The most effective method is using compressed air with a blow-out gun after every section pass. This clears spent clear coat and dried compound while cooling the pad. Alternatively, press a stiff nylon pad conditioning brush against the fibers while running the machine at low speed.
A: After thoroughly priming the entire face of the pad for the first pass, use very little product. Apply just two or three pea-sized drops per section. Using too much liquid saturates the fibers, causing them to mat down and hydroplane over the paint instead of cutting.
A: Hook-and-loop delamination is almost always caused by excessive heat. This occurs when a technician uses a single pad for too long without rotating it, applies too much downward pressure, or fails to clean the pad. The elevated core temperature melts the adhesive bonding the velcro to the foam.


