

Views: 0 Author: Site Editor Publish Time: 2026-07-06 Origin: Site


Detailers frequently face paint correction jobs where standard tools simply stop working. Deep scratches and severe oxidation demand aggressive intervention. You often hit a wall during these challenging projects. Standard foam pads fail to deliver an efficient cut here. While a wool polishing pad offers massive defect removal, it is rarely a one-step solution. It trades finishing clarity for maximum cutting speed and high thermal efficiency.
We will provide a clear, evidence-based framework today. You will learn exactly when to introduce wool into your paint correction workflow. This guide helps you avoid unnecessary clear coat reduction. It also mitigates common beginner risks. You can optimize your polishing strategy and protect delicate surfaces.
Cut Over Finish: Wool is engineered for compounding (removing heavy defects and sanding marks), not for achieving a final gloss. A secondary finishing step is always required.
Thermal Management: Unlike foam, wool fibers dissipate heat efficiently, making it the safest option for heavy cutting on temperature-sensitive panels or fiberglass/gelcoat.
Tool Dependency: The performance of a wool pad changes drastically depending on whether it is paired with a rotary polisher (traditional heavy cut) or a dual-action (DA) polisher (short-nap options for controlled cut).
Defect Threshold: Only upgrade to wool when tackling deep scratches, 1200–1500 grit sanding marks, or severe sun-damaged paint that microfiber and foam cannot efficiently resolve.
Every detailing tool has an operational limit. Standard pads have a distinct performance ceiling. A standard Polishing Pad made of foam or microfiber cannot conquer everything. Detailers often make a critical mistake when foam stops cutting. They apply excessive downward pressure to force a result. This action generates dangerous heat levels quickly. It pushes the foam structure beyond its design limits. You risk burning the paint entirely before removing the underlying scratch. We must recognize exactly when foam fails and transition to a stronger alternative.
You should only escalate to wool when confronting specific, severe conditions. We categorize these primary use cases below to help you diagnose the surface accurately.
Heavy Defect Removal: Freshly painted panels often require wet sanding to remove orange peel. Erasing 1200 to 1500-grit wet sanding marks demands massive leveling power. Foam simply takes too long to level these deep abrasive grooves. Wool cuts through them efficiently.
Hard Clear Coats: Certain automotive manufacturers utilize notoriously hard factory clear coats. Specific German automotive brands are famous for this ceramic-like hardness. Deep scratches on these surfaces resist microfiber. Wool fibers dig into hard clear coats to physically level the surrounding paint.
Marine & RV Applications: Boats and recreational vehicles feature gelcoat exteriors. Gelcoat is significantly thicker and more porous than automotive paint. Oxidized gelcoat rapidly destroys foam pads by tearing the cellular structure apart. Wool withstands this aggressive, porous surface easily.
Severe Sun Damage: Older vehicles often feature single-stage paint systems. Neglected single-stage paint develops thick, dead, heavily oxidized layers. Stripping this chalky dead paint quickly requires an aggressive approach. Wool removes the dead layer rapidly without immediately clogging and failing.
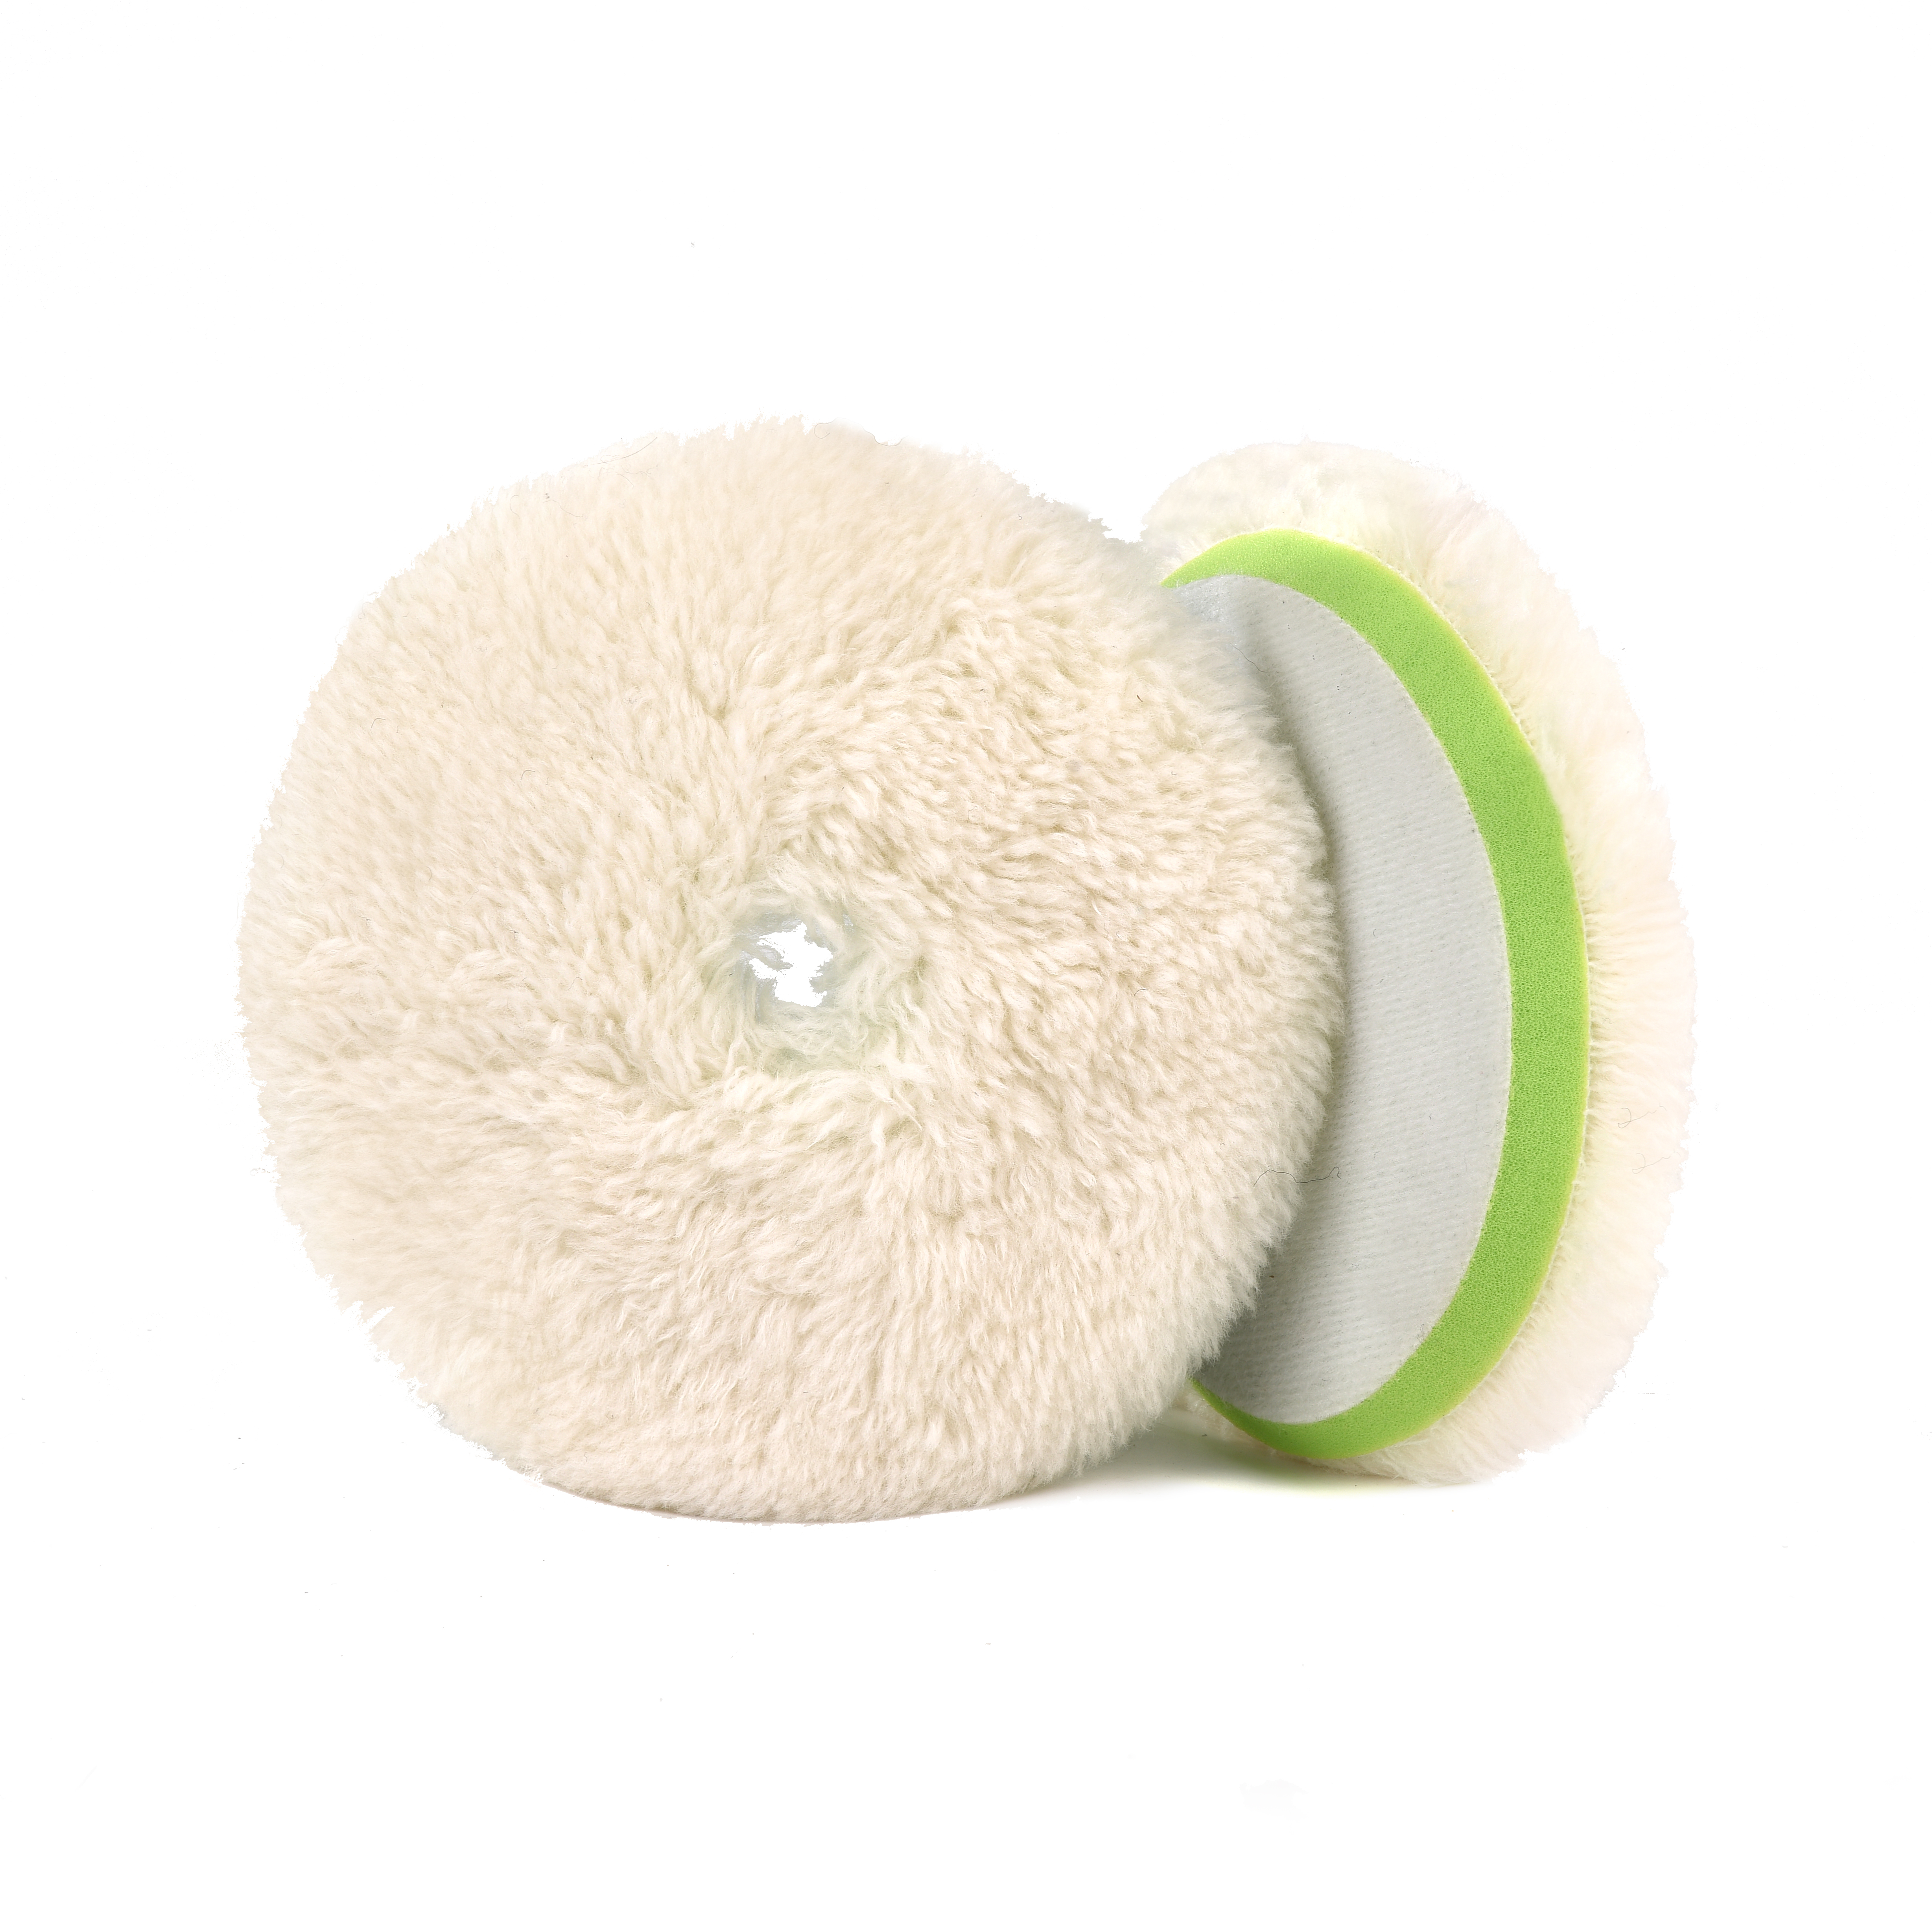
Understanding the physics behind different pad materials improves your decision-making process. Each material interacts differently against a painted surface. We evaluate them across four crucial performance metrics.
When assessing cutting efficiency, wool emerges as the undisputed winner. You must understand how individual natural fibers operate. They act as thousands of tiny micro-abrasives. These fibers leverage the polishing compound aggressively against the defect. Foam features a flat, uniform surface. It glides over deep scratches comparatively. A Wool Polishing Pad penetrates defect valleys to level paint faster.
Heat dissipation represents another major victory for wool. We must look at basic thermodynamics here. Foam acts as an insulator. It traps heat directly against the delicate clear coat during heavy friction. Wool fibers naturally allow continuous airflow. This structural difference reduces the risk of paint burn-through significantly during prolonged correction sessions. It keeps the panel remarkably cooler.
However, we must set realistic expectations regarding finishing quality. Foam wins this category effortlessly. Wool leaves visible micro-marring, compounding haze, or holograms behind. It is a strict evaluation trade-off. You trade optical clarity for massive speed of cut. You cannot expect a mirror finish directly after an aggressive compounding phase.
Pad durability requires active maintenance. Wool requires frequent spurring to prevent the fibers from matting together. A matted pad stops cutting entirely. Despite this maintenance requirement, wool generally outlasts foam when subjected to heavy compounding friction. Heavy friction tears foam cells apart over time.
Performance Metric | Wool Pads | Foam Pads | Microfiber Pads |
|---|---|---|---|
Cutting Efficiency | Highest (Micro-abrasive fiber action) | Low to Medium (Flat leveling) | Medium to High |
Heat Dissipation | Excellent (Allows airflow) | Poor (Insulates and traps heat) | Moderate |
Finishing Quality | Poor (Leaves compounding haze) | Excellent (Creates optical clarity) | Good (Slight micro-marring possible) |
Durability Under Heavy Stress | High (Resists tearing) | Low (Cells tear apart) | Medium (Fibers can melt) |
The machine powering your pad changes the operational dynamics entirely. You cannot apply the same techniques across different polisher types. We divide the approach into traditional and modern setups.
Professional body shops have relied on this specific combination for decades. It remains the industry standard for leveling heavy texture.
Mechanics: This approach utilizes twisted-ply wool. You combine this aggressive material using the forced, direct-drive rotation of a Rotary Polisher. This combination yields the highest possible cut available in the detailing world. It levels clear coat aggressively.
Risks: This power comes with massive responsibility. It carries a high potential for instilling deep holograms and buffer trails. The user requires highly controlled arm speed. You must maintain a perfect pad angle. Even a slight tilt can burn an edge instantly.
Manufacturers recognized the dangers of traditional methods. They developed new solutions specifically designed for safer machines.
Mechanics: Manufacturers engineered short-nap or knitted wool pads specifically for DA machines. These pads feature shorter fibers attached to a structured backing. They handle the oscillating movement without falling apart.
Benefits: This modern adaptation lowers the barrier to entry for beginners significantly. It reduces the risk of burn-through drastically. It still provides more cutting power than any DA-compatible foam pad. You get safe, predictable defect removal.
Limitations: We must acknowledge the drawbacks. A DA setup cannot match the sheer leveling speed of a traditional direct-drive machine on severe orange peel. It takes more time to erase deep wet sanding marks.
Moving to heavy compounding introduces new variables into your workspace. You will encounter operational challenges immediately. Preparing for these realities prevents panic and ensures a smooth workflow.
You must accept the hologram reality. We guarantee heavy wool compounding will leave buffer trails on the paint. Beginners often view this as a failure. Frame this outcome differently. It is not a failure at all. It represents a standard Phase 1 operational reality. You are intentionally removing deep defects quickly. This aggressive action leaves lighter, uniform scratches behind. A mandatory Phase 2 foam polish easily refines these lighter marks.
Linting and shedding present another common hurdle. We always warn first-time users about initial pad shedding. A brand new pad throws loose fibers everywhere during the first few minutes. You can mitigate this messy situation easily. Provide proper priming before starting the machine. Break in the pad against a clean surface. Use a steel pad spur frequently to clear matted compound and pull out loose hairs. This routine keeps your workspace much cleaner.
Edge control demands your absolute attention. We must discuss the severe risk of burning edges or catching delicate trim. Wool fibers are long and flexible. They wrap around panel contours aggressively. They reach into gaps and grab plastic trim pieces. Masking tape becomes entirely mandatory during this phase. Tape off all plastics, rubbers, and sharp panel edges. Maintain strict edge awareness. Never let the machine linger over a body line.
Detailers need a systematic approach to prevent unnecessary paint removal. You should never guess when selecting your cutting tools. Follow this strict decision framework before beginning any aggressive correction.
Step 1: The Test Spot Protocol. Always start your diagnosis using the least aggressive method possible. Select a medium foam pad first. Perform a standard test spot on the worst section of the panel. Evaluate the results carefully. Only escalate your approach if 4-6 passes yield less than 70% defect removal. If foam removes the defects, stay there.
Step 2: Paint Thickness Assessment. Check the panel thoroughly using an electronic paint thickness gauge. Wool removes clear coat very rapidly. You must measure the baseline thickness. Do not use aggressive techniques on dangerously thin or failing clear coats. If the gauge reads abnormally low, you must abandon heavy cutting entirely to save the remaining paint.
Step 3: Workflow Acceptance. Confirm your operational boundaries before starting. You must have the necessary time and budget for a mandatory two-step or three-step correction. Heavy cutting requires refinement. If the client or project constraints only allow for a single-step polish, discard your heavy tools immediately. Use an AIO (All-In-One) product paired with a medium polishing pad instead.
A wool pad represents a highly specialized, heavy-duty tool within your detailing arsenal. Manufacturers designed it specifically for severe defect removal and optimal heat management. It is never meant to act as a daily driver for minor swirls or light wash scratches. You should reserve it for wet sanding marks, deep gouges, and oxidized gelcoat.
You must commit to a multi-step process. Once the heavy compounding phase concludes, transition immediately to a medium or finishing foam pad. Pair this softer pad with a finer polish. This critical secondary step removes the compounding haze. It restores true optical clarity and reveals a flawless, high-gloss finish.
A: Yes, beginners can use them safely if paired properly. You must use a dual-action (DA) polisher and a short-nap pad. This combination significantly reduces burn-through risks. Using a rotary polisher requires extensive supervised practice on scrap panels first. Never start with a rotary on a client vehicle.
A: Avoid putting them inside washing machines. Clean them actively during your workflow. Use a specialized steel pad spur after completing every single panel. Hold the spur against the spinning pad. This action fluffs the matted fibers and removes spent abrasive compound effectively.
A: While wool runs cooler than foam, its high cut rate means it removes physical material much faster. Staying stationary on a sharp body line or edge will cause burn-through rapidly. Always keep the machine moving and tape off delicate edges beforehand.
A: Emphatically yes. Aggressive cutting fibers leave behind visible compounding haze, holograms, and micro-marring. You must perform a secondary refining step. Use a softer foam pad and a finishing polish to clear the haze and restore a high-gloss reflection.


